1a. Cut one brass rod in half — this is probably too much length but you’ll want to be able to customize it to your finger size.
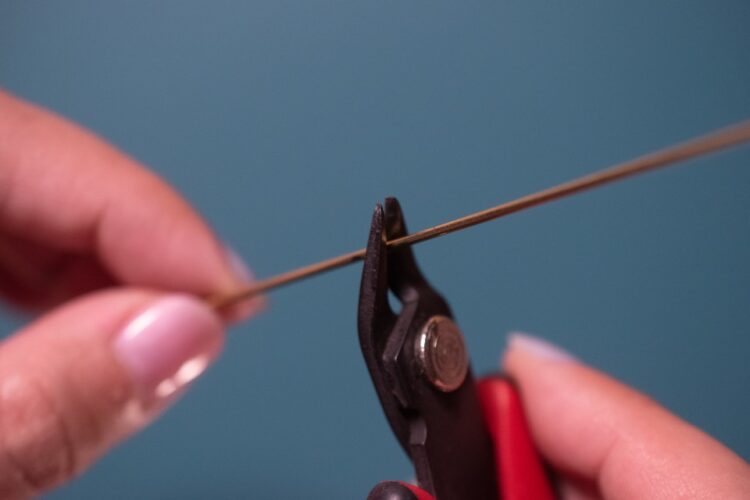
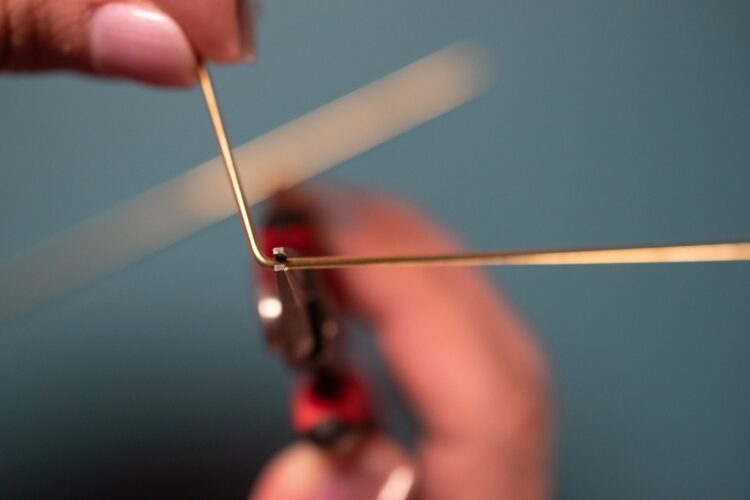
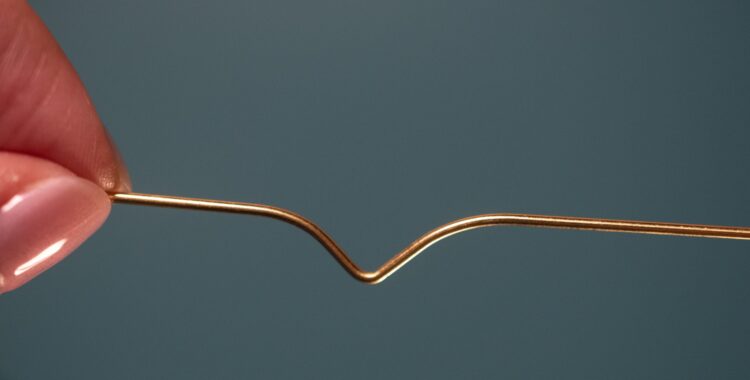
1b. Using the needlenose pliers, bend the rod around the halfway mark to about 90°. This will be the V shape on the front of the ring.
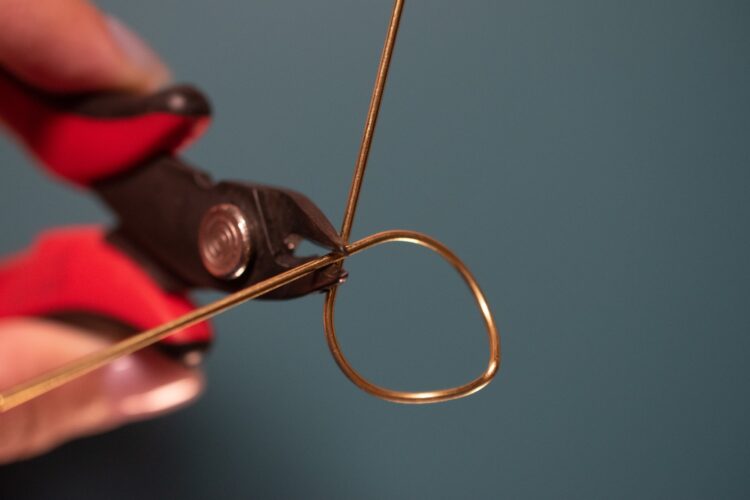
1c. Hold the bent rod in between the Big Wrapper Pliers, aligned with the 20mm barrel. Bend a curve outward on one side, so that it forms half of the V shape.
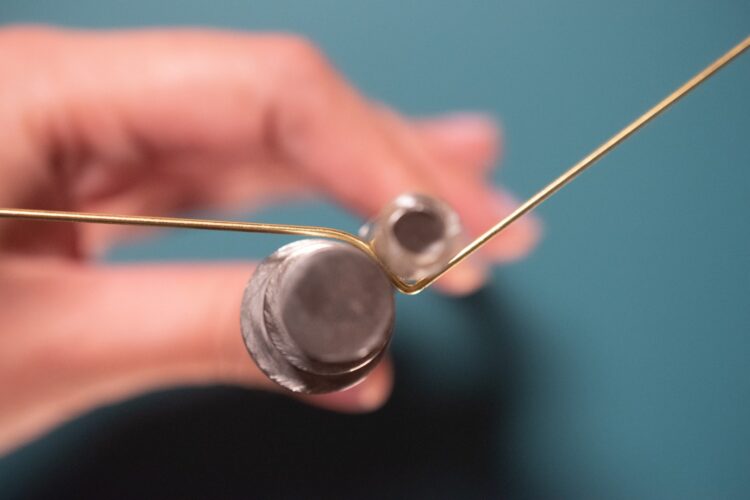
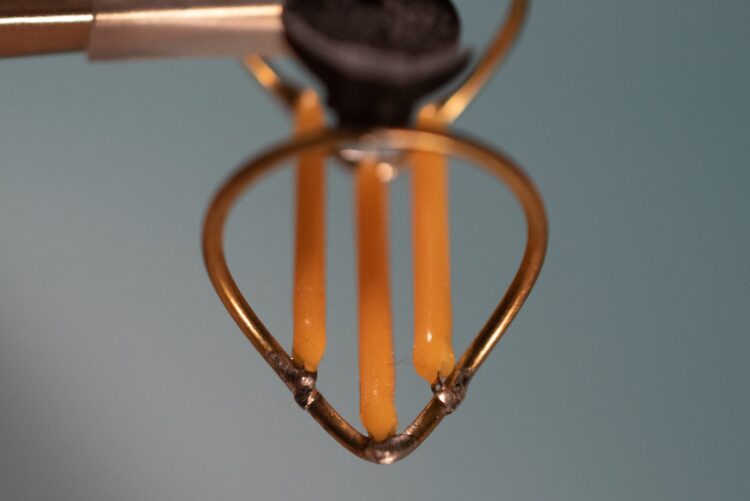
1d. Do the same on the other side to complete the curved V shape. At this point, you can form the brass by hand so that the straight lines on either side of the V will form a straight line with one another.
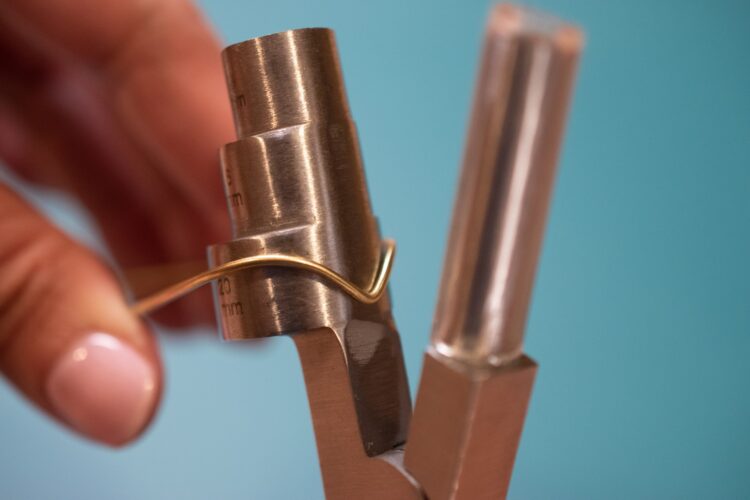
1e. Place the V in between the 20mm barrel and the other side of the wrapper pliers. Bend both sides. The wire will form a diameter slightly larger than 20mm, but this will give you a good shape to start customizing to your ring size.
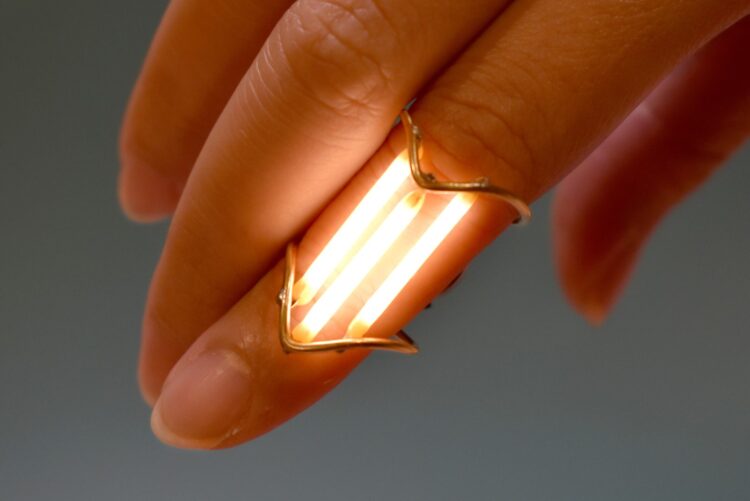
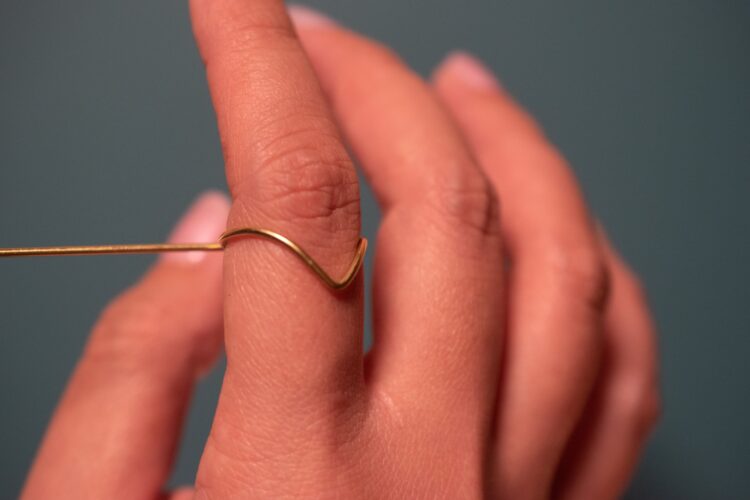
1f. Using either a ring mandrel or your own finger, form the circle so that it fits your ring size.
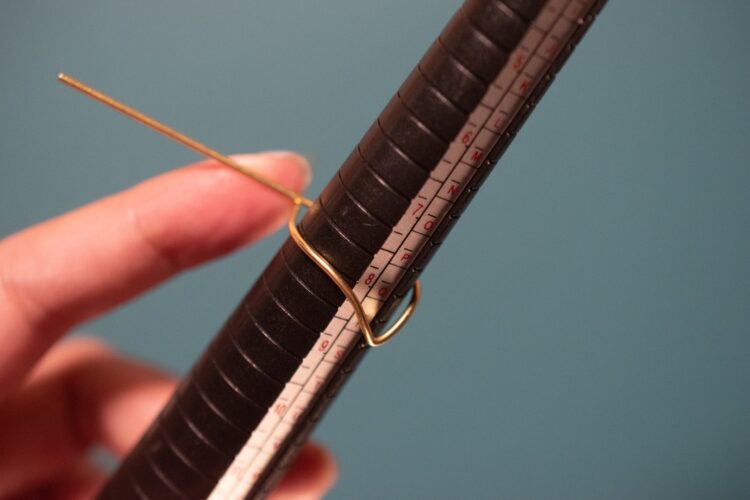
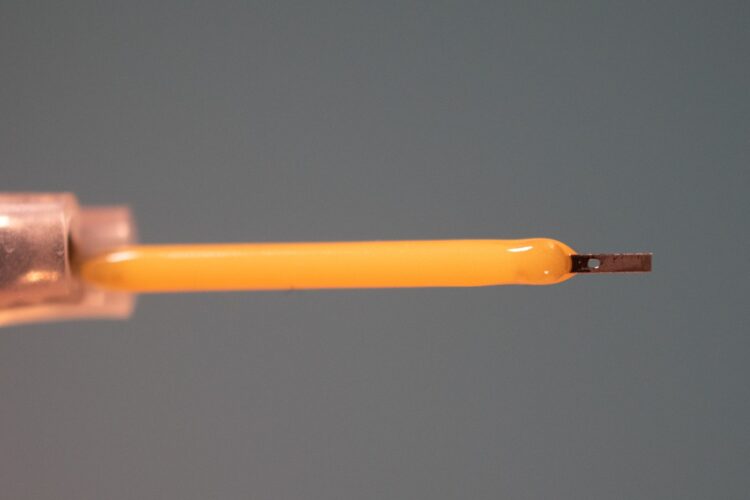
If you’re using a ring mandrel, you could use a ring sizer kit to figure out what size is most comfortable and then use the ring mandrel to get to the desired size. I recommend sizing up at least a half size so that you can account for the thickness of the LED filament.
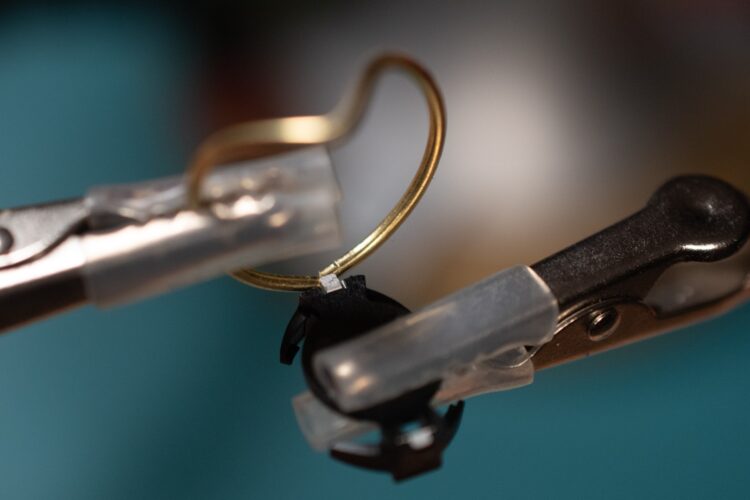
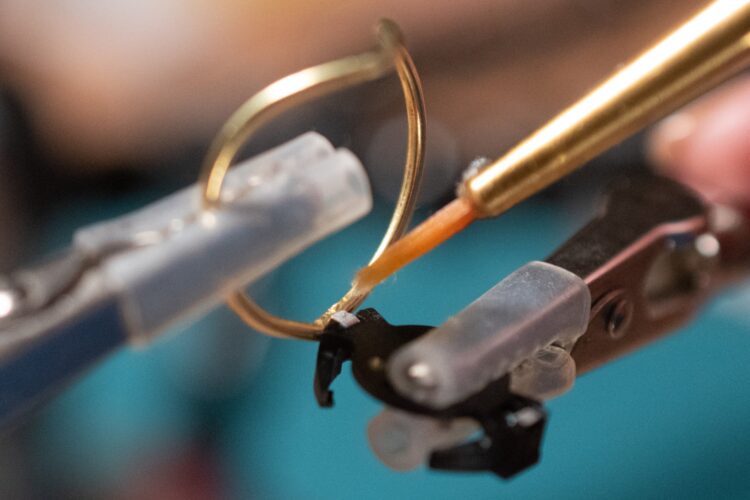
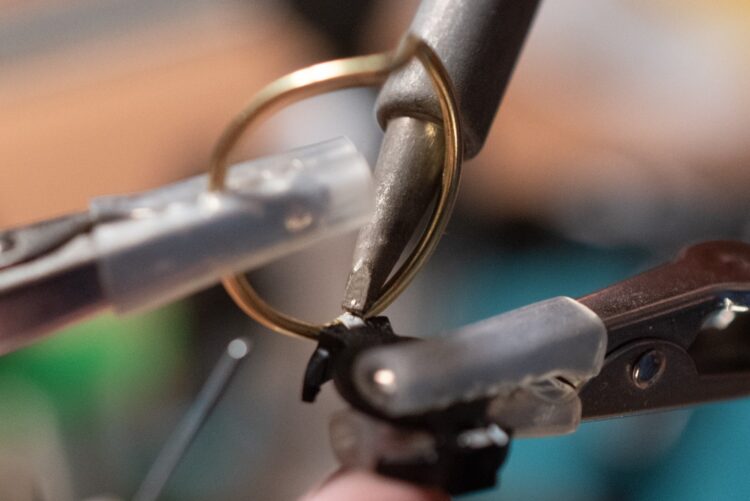
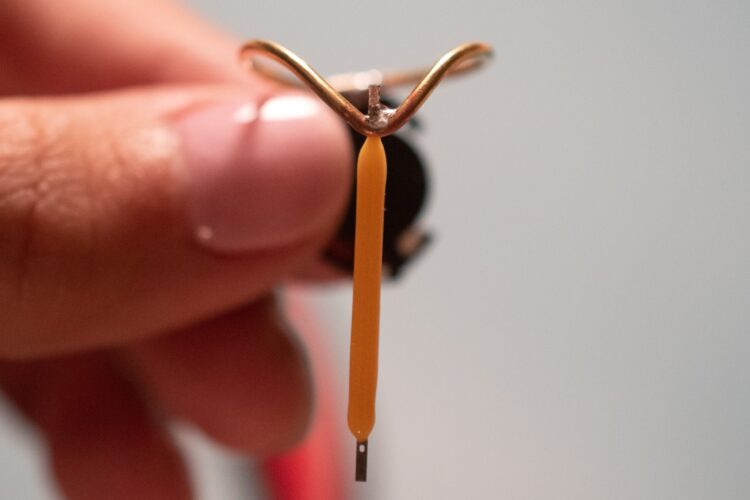
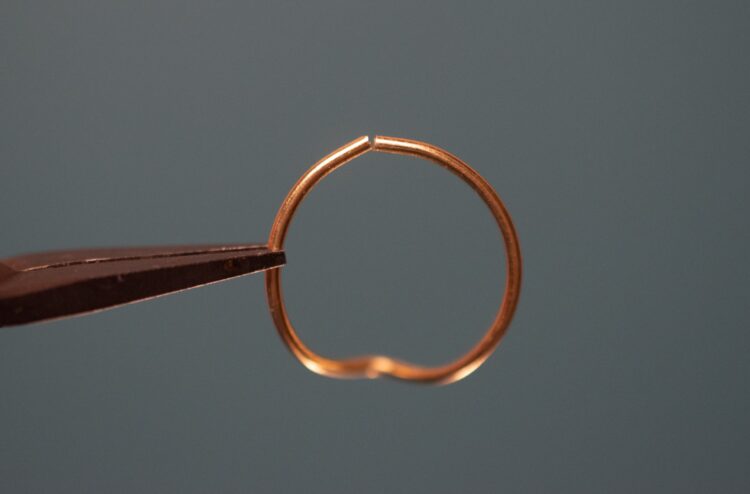
1g. Cut the excess brass rod, taking care to use the flat side of the cutter to achieve a flat cut.
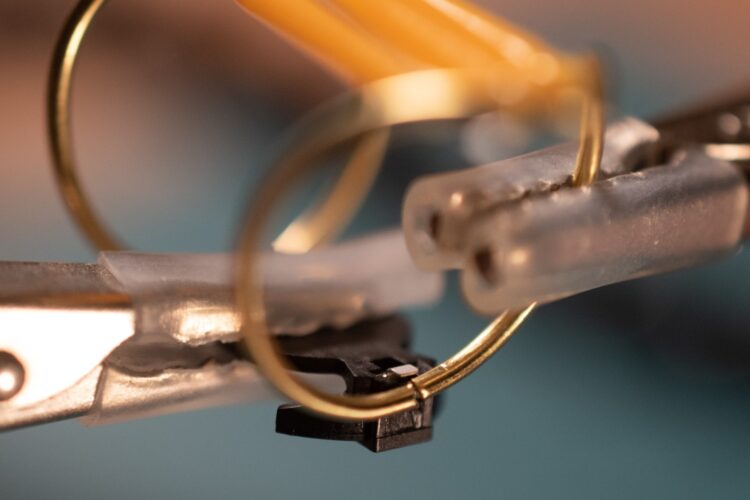
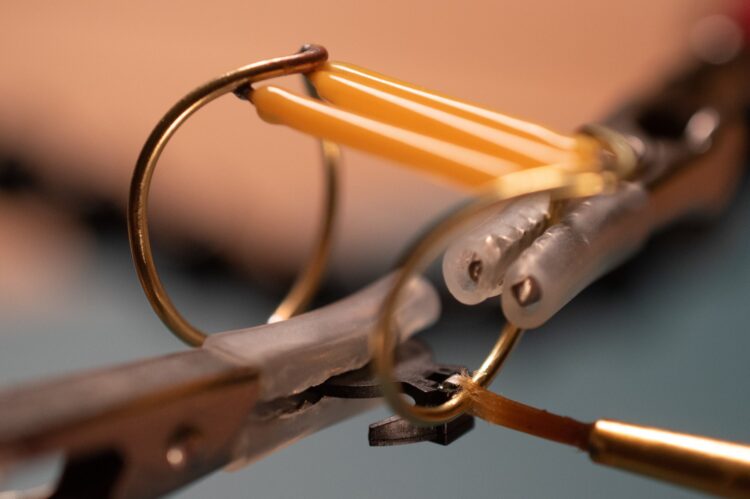
1h. Professional jewelers will think this is crazy, but I’m going to say it: It’s OK if you have a gap in the ring! Take as much or as little time as you want to close this gap.
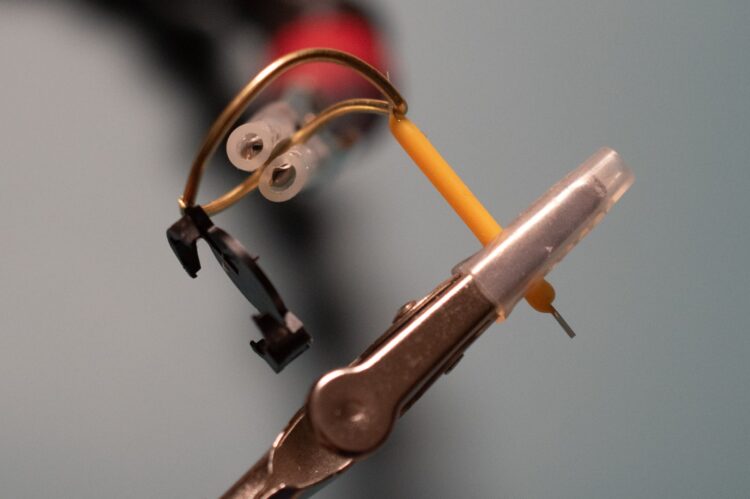
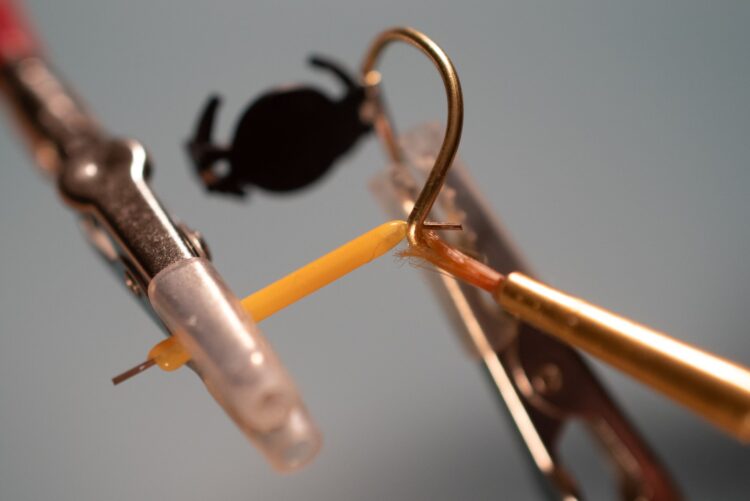
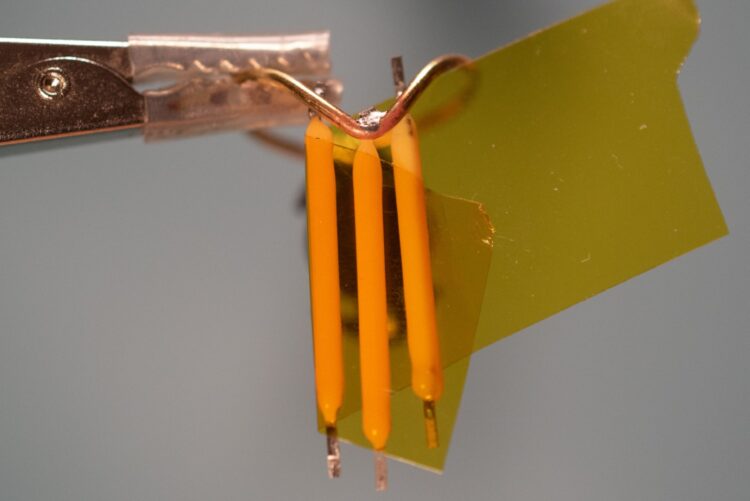
Now do steps 1b–1g again to get two of the same V-shaped ring.